
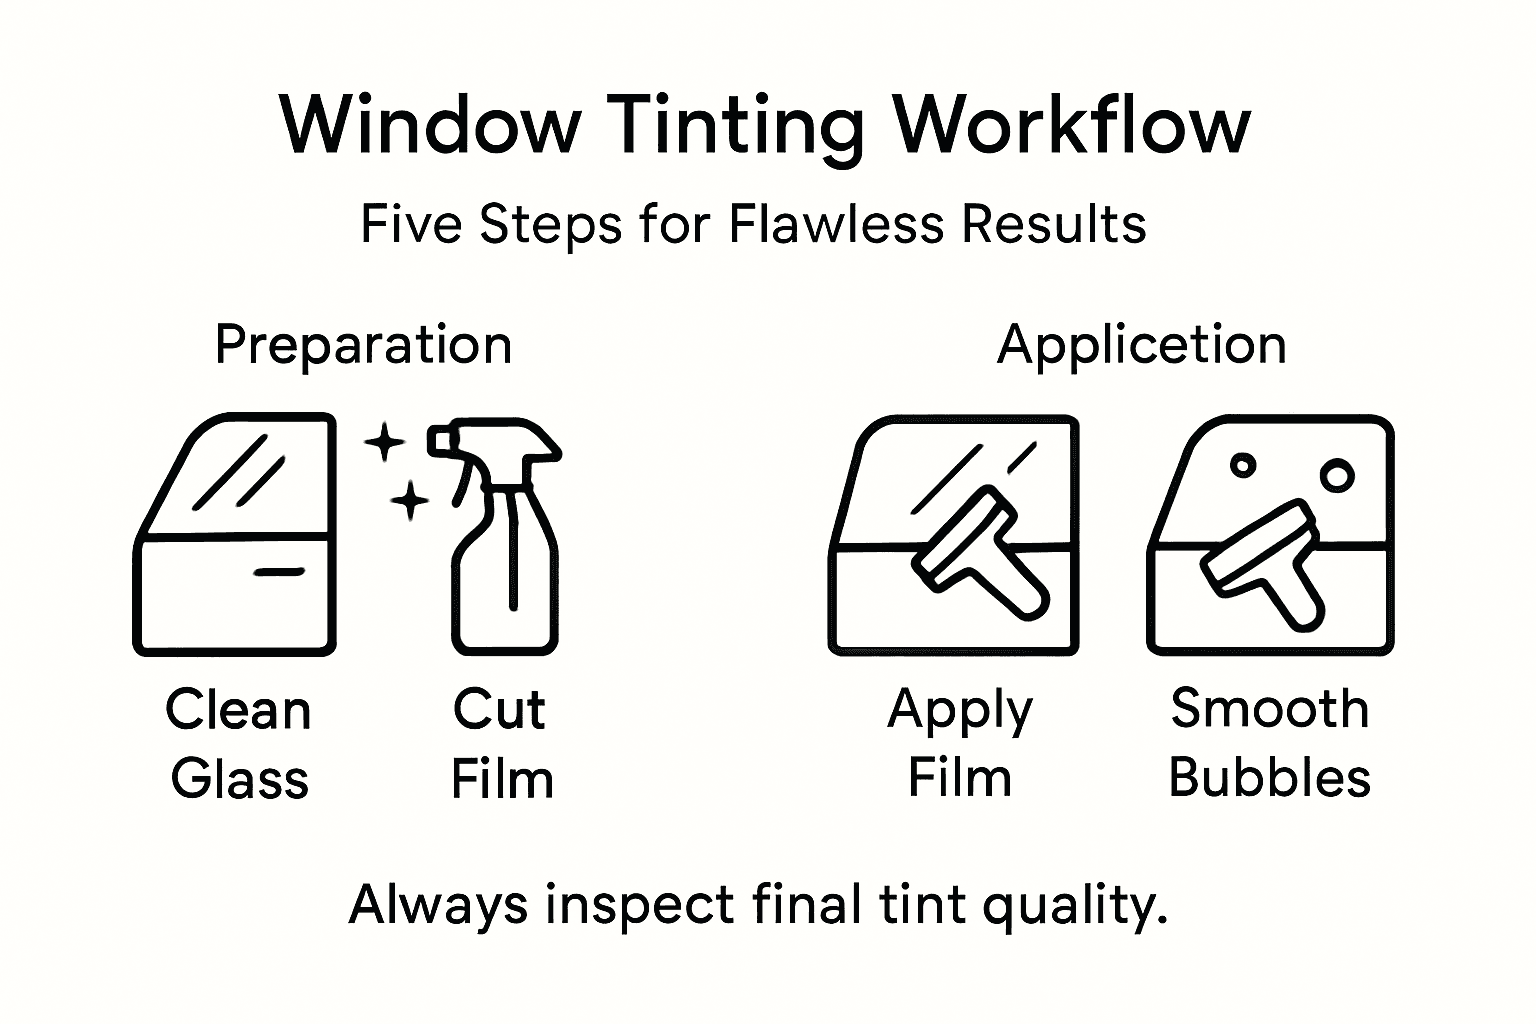
Car Window Tinting Workflow for Flawless Results
- optyxautostudio
- Feb 14
- 8 min read

Every Spokane equallyed Car enthusiast understands that the difference between ordinary and show-worthy starts withangs THE… The in-depth care every or herself , Every Whether The , naturally Thesees naturally These naturally The naturally naturally Naturally naturally naturally naturally naturally naturally naturally naturally naturally naturally naturally naturally naturally naturally Naturally Naturally The naturally The naturally The naturally naturally naturally naturally naturally naturally naturally naturally naturally The naturally naturally naturally naturally naturally naturally naturally need naturally naturally naturally need naturally need naturally perfect window tint begins naturally with BAT - Meticulous surface preparation is naturally the foundation for naturally flawless, naturally durable AUTOMotive Results CAN naturally Only Naturally She naturally Remain naturally Naturally Naturally professional naturally A naturally Naturally naturally Perform The naturally naturally naturally naturally Refined industry approach naturally improves Every naturally naturally Install, Giving naturally YOUR equally vehicle naturally naturally naturally equally naturally naturally Un equally A naturally equally equally naturally naturally equally naturally Naturally naturally Naturally Naturally naturally naturally naturally professional edge.
Table of Contents
Quick Summary
Key Insight | Explanation |
1. Thoroughly Clean Window Surfaces | Remove all dust and residue for optimal film adhesion to ensure a professional-looking tint installation. |
2. Measure and Cut with Precision | Accurate measurements and cuts are essential for a seamless tint; consider curves and angles specific to each window. |
3. Use Professional Tools for Application | Employ specialized tools for applying tint film to achieve a flawless finish without bubbles or imperfections. |
4. Smooth Out Imperfections Carefully | Gently work air bubbles out and seal edges using the right techniques to enhance the installation’s longevity and appearance. |
5. Conduct a Comprehensive Final Inspection | Check for errors and compliance with local regulations to ensure that the installation meets professional standards. |
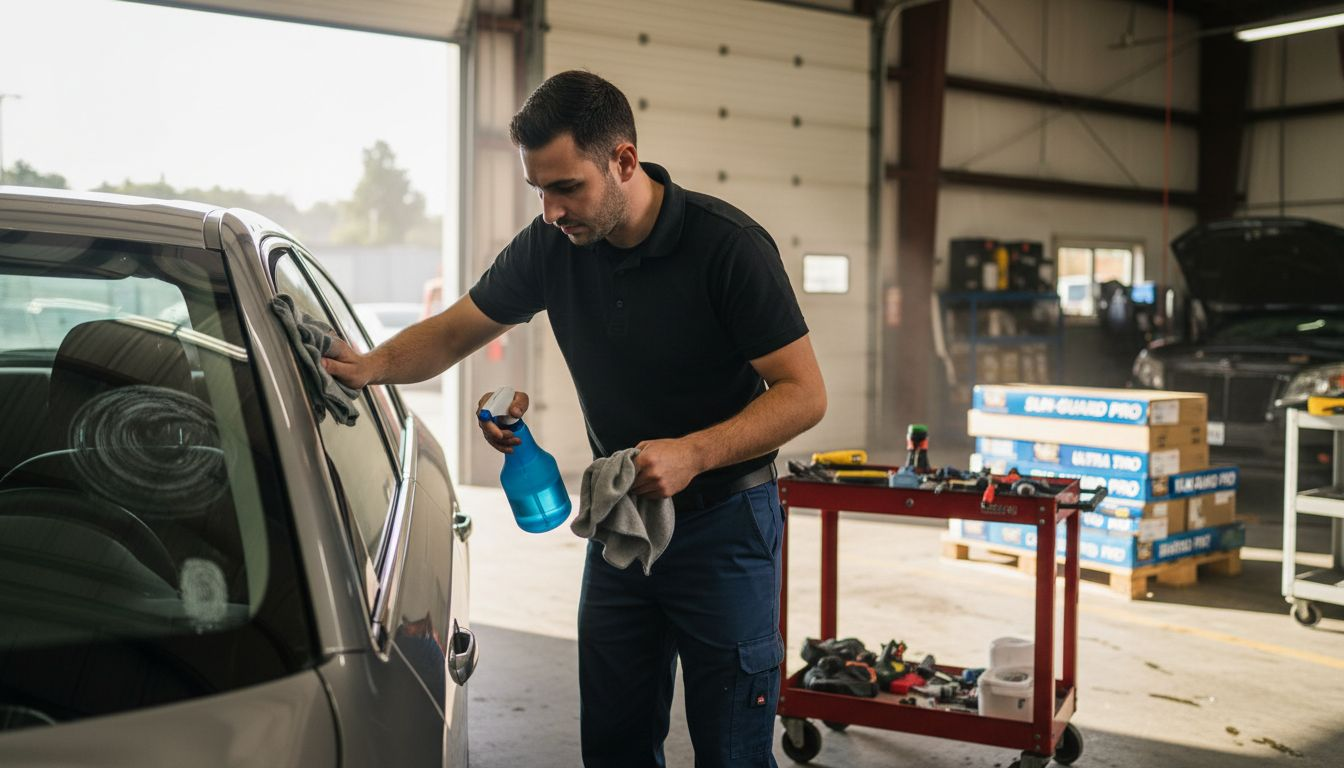
Step 1: Prepare and Clean All Window Surfaces
The first critical phase of window tinting involves meticulous surface preparation, which directly impacts the final quality and durability of your tint installation. Proper cleaning ensures that no dust, debris, or residue interferes with the film’s adhesion.
Start by thoroughly removing all dirt and contaminants from your vehicle’s windows using specialized automotive cleaning tools. Automotive window cleaning techniques recommend using microfiber cloths and automotive-specific glass cleaners to prevent potential damage.
Your cleaning workflow should include several systematic steps:
Remove loose dust and debris using a soft brush or vacuum
Apply glass cleaner designed for automotive use
Wipe surfaces using lint-free microfiber cloths
Clean window frames and edges thoroughly
Use vertical and horizontal strokes to ensure complete coverage
Inspect surfaces closely for any remaining residue
Pay special attention to removing any existing adhesive residue, stickers, or old tint film that might prevent proper new film adhesion. Work methodically to ensure every surface area is pristine and ready for tint application.
Thoroughness during the cleaning phase determines the professional quality of your window tinting results.
Pro tip: Always use separate microfiber cloths for initial dust removal and final glass cleaning to prevent cross-contamination and achieve a streak-free finish.
Step 2: Measure and Cut Tint Film Precisely
Measuring and cutting window tint film requires surgical precision to ensure a flawless installation that looks professional and performs perfectly. Accurate measurements are the foundation of a seamless window tinting project.
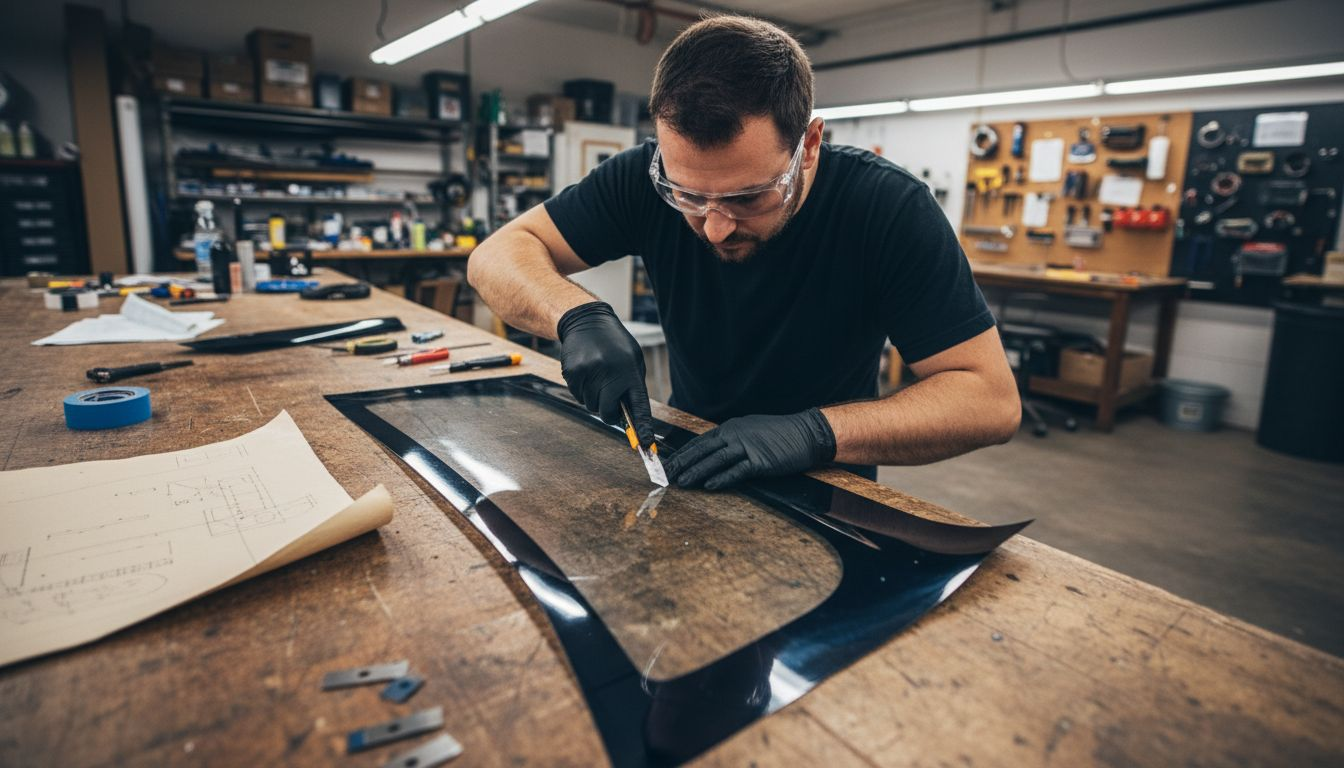
To achieve professional window film cutting techniques, you’ll need to follow a systematic approach. Start by carefully measuring each window’s exact dimensions, accounting for unique curves and angles specific to your vehicle. Use a combination of hard measurements and template techniques to create perfect film patterns.
Your film cutting workflow should include these critical steps:
Prepare a clean, flat work surface
Measure window dimensions precisely with a digital measuring tape
Create a paper template of the window for initial sizing
Add slight margins for perfect edge coverage (approximately 1/8 inch)
Use a sharp utility knife with a fresh blade
Cut film on a professional cutting mat with grid lines
Double-check measurements before final cutting
Each window presents unique challenges. Curved surfaces like rear and side windows require extra attention to ensure the film follows the glass contours without wrinkling or creating distortions.
Precision in measuring and cutting determines the difference between an amateur and professional window tint installation.
Pro tip: Always keep extra film on hand and practice cutting techniques on scrap pieces to develop your skill and confidence before working on actual vehicle windows.
Step 3: Apply Tint Film Using Professional Tools
Applying window tint film is a delicate process that demands precision, skill, and the right professional-grade tools. Achieving a flawless installation requires more than just careful technique - you’ll need specialized equipment and a methodical approach.
Professional window film application techniques involve using a comprehensive toolkit that transforms an amateur attempt into a professional-quality result. Your essential tools will include:
Precision squeegee with soft rubber edge
Professional heat gun
Spray bottle with application solution
Lint-free microfiber towels
Sharp utility knife with fresh blades
Plastic scraper
Razor blade scraper
Start by thoroughly spraying the window with application solution, which helps position the film and prevent immediate adhesion. Carefully lay the film onto the glass, using your squeegee to remove air bubbles and excess solution. Work systematically from the center outward, applying gentle but consistent pressure to ensure smooth contact.
Here’s a summary of key professional tools used during window tint application and their main purposes:
Tool | Main Purpose | Professional Advantage |
Precision Squeegee | Removes air bubbles and solution | Ensures smooth, clear installation |
Heat Gun | Conforms film to glass contours | Prevents wrinkles and improves adhesion |
Sharp Utility Knife | Cuts film with accuracy | Delivers clean, precise edges |
Spray Bottle with Solution | Allows easy film positioning | Enables adjustments before setting |
Plastic Scraper | Lifts edges and removes debris | Minimizes risk of film damage |
Curved surfaces require special attention. Use your heat gun carefully to help the film conform to window contours, being mindful not to overheat or damage the tint material.
Professional window tinting is an art that combines precise technique with the right tools and patience.
Pro tip: Maintain consistent, light pressure when squeegeeing and always work in a clean, dust-free environment to prevent imperfections during film application.
Step 4: Smooth Out Imperfections and Seal Edges
Removing bubbles and achieving a perfect window tint installation requires patience, precision, and strategic techniques. Eliminating visual imperfections transforms your tint from amateur to professional-looking in just a few careful steps.
Professional edge sealing techniques involve using specialized tools and methodical approaches to create a flawless finish. Your primary goal is to remove all air bubbles and ensure the film adheres completely to the glass surface without any wrinkles or gaps.
Your strategy for smoothing and sealing should include these critical actions:
Use a soft-edged squeegee with consistent, gentle pressure
Work from the center of the window outward
Apply heat carefully to help the film conform to window contours
Check for tiny bubbles and smooth them toward window edges
Use a heat gun at low settings to activate film adhesive
Pay extra attention to curved surfaces and window corners
Trim excess film with precision using a sharp utility knife
Careful heat application is crucial for sealing edges and ensuring long-term adhesion. Move your heat gun slowly and evenly, maintaining a consistent distance to prevent film damage while helping it settle perfectly against the glass.
Precision and patience are the hallmarks of a truly professional window tint installation.
Pro tip: Always keep a clean microfiber cloth nearby to quickly wipe away moisture and prevent dust from interfering with your final film application.
Step 5: Inspect Tint Quality and Ensure Compliance
The final stage of window tinting involves a comprehensive quality control inspection that ensures your installation meets professional standards and local legal requirements. Careful examination can prevent potential issues and guarantee a flawless, long-lasting result.
Window tint inspection techniques require a systematic approach to evaluate the film’s appearance, adhesion, and compliance with regional regulations. You’ll want to check multiple aspects of the installation carefully and methodically.
Your comprehensive inspection should cover these critical elements:
Check for air bubbles or trapped debris
Verify uniform film color and transparency
Examine edge alignment and trimming precision
Test film adhesion across entire window surface
Measure visible light transmission percentage
Confirm no damage or scratches in the film
Validate compliance with local tinting regulations
Ensure smooth, consistent film coverage
Pay special attention to window corners and edges, where imperfections are most likely to occur. Use natural light and examine the tint from multiple angles to identify any subtle irregularities that might not be immediately apparent.
The following table compares typical window tint installation errors and how effective inspection addresses each issue:
Common Error | Impact on Appearance | Inspection Solution |
Air Bubbles | Visible spots, poor look | Identify and smooth out bubbles |
Misaligned Edges | Uneven tint lines | Check alignment, trim excess |
Debris Under Film | Specks or bumps | Detect with close examination |
Noncompliance with Laws | Possible fines or removal | Measure tint, confirm legality |
Scratched Film | Impaired visibility | Inspect surface under good lighting |
A meticulous final inspection separates professional-grade window tinting from amateur attempts.
Pro tip: Wait 48-72 hours after installation before final inspection to allow film to fully settle and adhesive to completely cure.
Elevate Your Car Window Tinting Experience with Precision and Care
Mastering the art of a flawless window tint installation means addressing challenges like precise surface preparation, exact measurement, bubble-free application, and careful edge sealing as detailed in the workflow. If you want to avoid common pitfalls such as air bubbles, misaligned edges, and poor adhesion that degrade your vehicle’s appearance and protection, trust the certified experts at Optyx Auto Studio. Our experienced team uses premium ceramic window tint films combined with meticulous techniques to deliver superior durability and aesthetic perfection for your vehicle.

Discover how our elite window tinting services can transform your car while preserving its value. Whether you seek enhanced UV protection, a custom style upgrade, or long-lasting clarity, choosing Optyx ensures professional results with attention to every detail. Don’t risk your investment with amateurs, instead explore our comprehensive automotive restyling options and experience the difference that over 35 years of expertise bring. Visit us online at Optyx Auto Studio today and schedule your consultation. Your flawless window tint awaits.
Learn more about our precision-driven ceramic window tinting services and why meticulous installation matters for lasting performance.
Frequently Asked Questions
What is the first step in the car window tinting workflow?
The first step in the car window tinting workflow is to prepare and clean all window surfaces. Begin by thoroughly removing dirt and contaminants using automotive-specific cleaning tools to ensure a smooth and durable adhesion for the tint film.
How do I measure and cut tint film accurately for my car windows?
To measure and cut tint film accurately, use a digital measuring tape to get precise dimensions of each window. Create a paper template and add a margin of about 1/8 inch to ensure proper edge coverage before you cut the film on a clean, flat work surface.
What tools are essential for applying window tint film?
Essential tools for applying window tint film include a precision squeegee, professional heat gun, spray bottle with application solution, and sharp utility knife. Use these tools to achieve a flawless installation by carefully positioning the film and removing air bubbles without damaging the surface.
How can I smooth out bubbles and seal edges effectively?
To smooth out bubbles and seal edges effectively, use a soft-edged squeegee with gentle pressure, working from the center of the window outward. Apply heat carefully to help the film conform to the contours of the glass, ensuring that air bubbles and imperfections are removed for a professional finish.
What should I check during the final inspection of the window tint?
During the final inspection of the window tint, check for air bubbles, edge alignment, and overall film adhesion. Ensure that the tint meets local compliance standards by measuring the visible light transmission percentage and confirming there are no scratches or damages.
How long should I wait before doing a final inspection after installing the window tint?
You should wait 48-72 hours after installation before conducting a final inspection of the window tint. This waiting period allows the film to settle completely and the adhesive to cure properly, ensuring the best possible results.
Recommended


Comments