
Ceramic Window Tint Installation Guide for Flawless Results
- optyxautostudio
- Jan 11
- 8 min read

Most American luxury vehicle owners in Spokane demand more than ordinary window tint—they expect excellence. Ceramic window tint blocks over 95 percent of UV rays, protecting high-end interiors and providing lasting style. A meticulous installation transforms any car, especially when the workspace is clean and every detail is perfected. This guide walks you through the preparation and professional steps experts use, helping your vehicle achieve the pristine results you deserve.
Table of Contents
Quick Summary
Key Insight | Explanation |
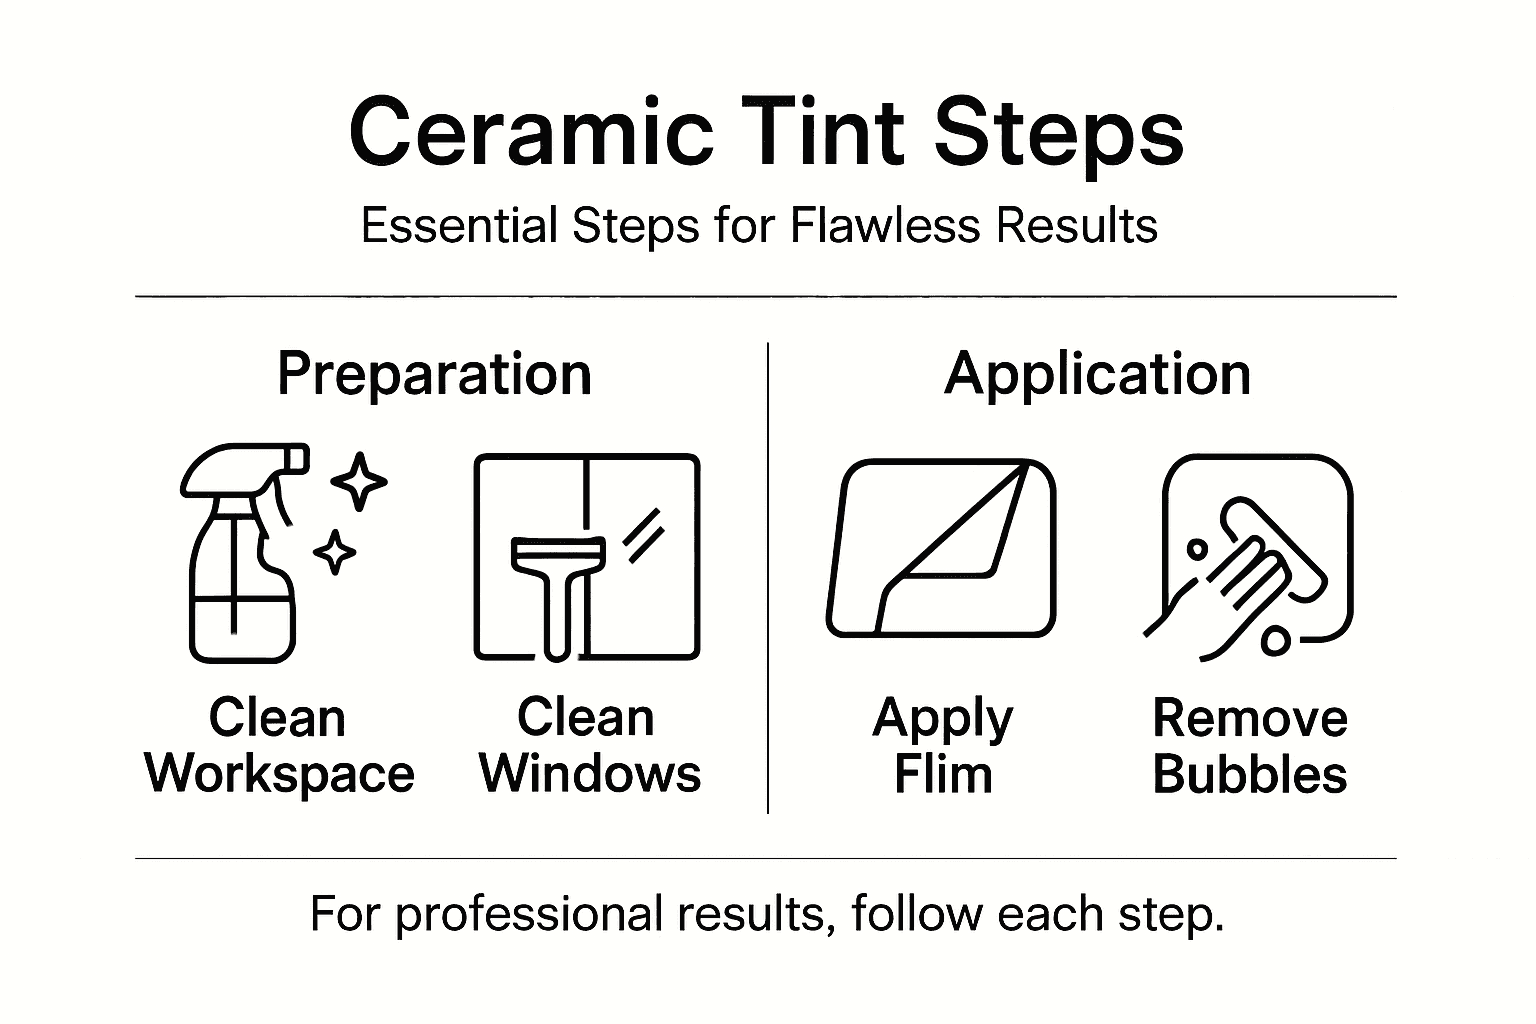
1. Clean Workspace Essential | A dust-free environment is crucial for adhering ceramic window tint, preventing debris from compromising installation quality. |
2. Precise Measurement is Key | Accurate measurements ensure the tint fits correctly, preventing any light leaks or uneven edges during installation. |
3. Detail in Film Application | Applying the film using gentle, controlled movements prevents air bubbles and ensures a smooth finish. |
4. Allow Proper Curing Time | Waiting at least 72 hours before cleaning or rolling down windows allows the adhesive to bond securely for longevity. |
5. Inspect Thoroughly After Installation | A careful inspection in daylight reveals any imperfections, allowing corrections before the tint cures completely. |
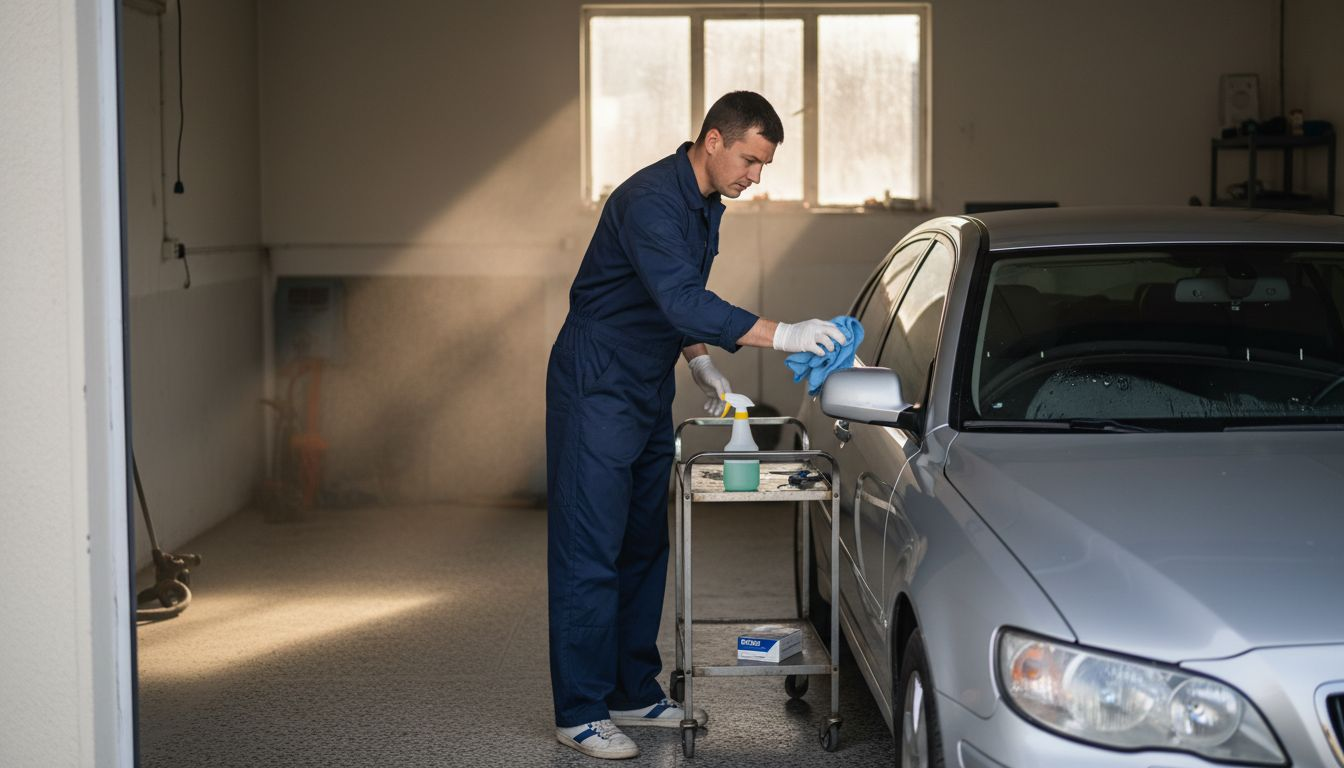
Step 1: Prepare Your Workspace and Clean Windows
Installing ceramic window tint requires a pristine workspace and meticulously cleaned windows. You will transform your vehicle’s windows by creating an immaculate surface that allows perfect film adhesion and a flawless final result.
Start by selecting a clean indoor workspace with controlled temperature and minimal airborne dust. Automotive detailing shops or well-maintained home garages work best. Gather your essential tools before beginning: lint-free microfiber towels, professional-grade window cleaner, razor blades, spray bottle with purified water, isopropyl alcohol, squeegee, and protective gloves. The goal is removing every microscopic contaminant that could compromise your ceramic window tint installation.
Begin by thoroughly cleaning your vehicle’s windows using a two-step process. First, use a razor blade at a 45 degree angle to carefully remove any existing residue like old tint adhesive or stubborn debris. Work slowly and methodically to avoid scratching the glass. Next, spray windows with a mixture of isopropyl alcohol and water, then wipe using lint-free microfiber towels in a cross-hatch pattern. This technique ensures complete contamination removal and prepares the surface for optimal UV window film adhesion.
Pro tip: Work in a dust-free environment and wear clean cotton gloves to prevent introducing new contaminants during the cleaning process.
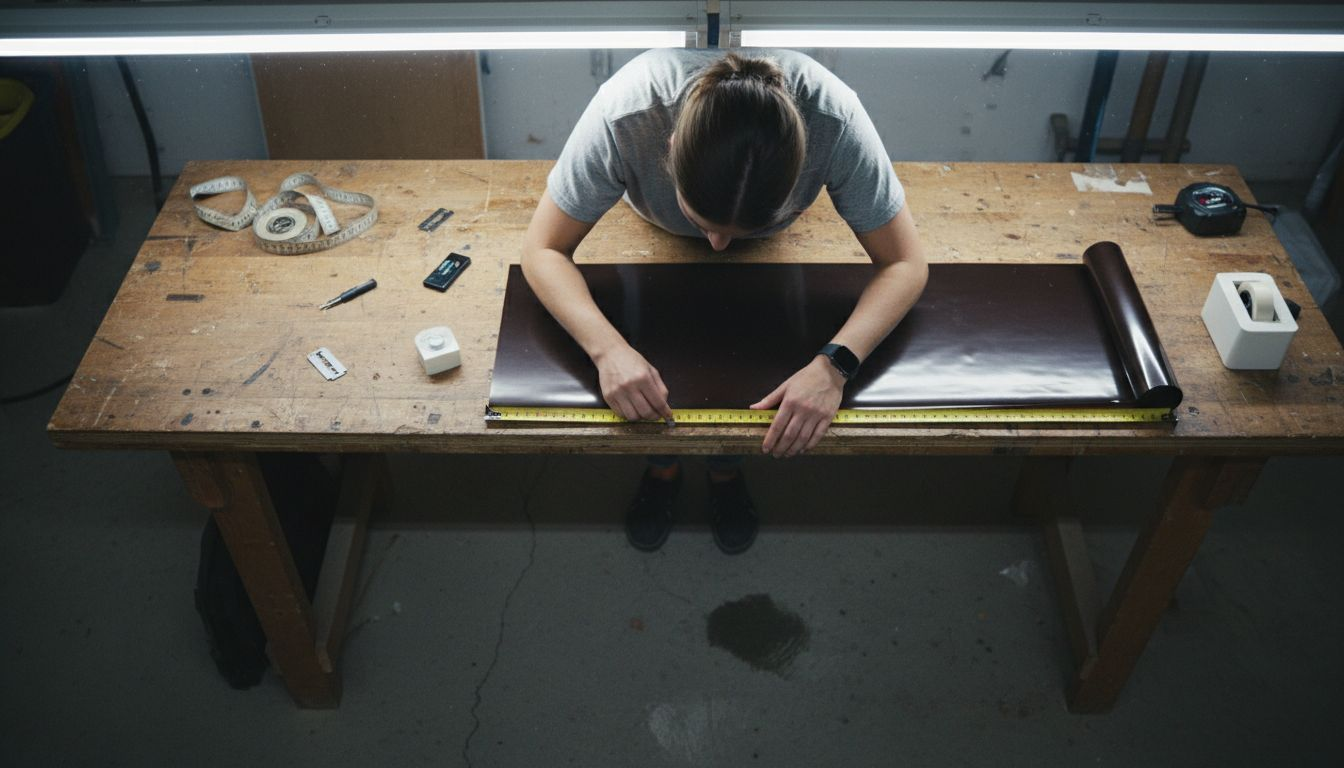
Step 2: Measure and Cut Ceramic Tint Precisely
Precision is the cornerstone of a professional ceramic window tint installation. You will transform your vehicle’s windows by creating perfectly fitted tint panels that look seamless and professional.
Begin by carefully measuring each window using a professional measuring tape. For interior measurements, work from inside the vehicle to capture the exact window shape. Window film installation requires adding approximately half an inch of extra material around each edge to accommodate potential adjustments. Lay the ceramic tint film on a clean cutting mat with a fresh razor blade and metal straight edge. Use slow deliberate movements to score and cut the film precisely.
When cutting your ceramic tint, always measure twice and cut once. Position your film on a flat surface with the protective liner facing up. Use a sharp utility knife or ceramic tint knife and make sure your cutting surface is clean and smooth. Carefully trace your measurements using a metal straight edge as a guide. Ceramic cutting techniques emphasize the importance of maintaining consistent pressure and angle to achieve clean precise edges. Remove the cut piece carefully to avoid introducing scratches or dust.
Pro tip: Keep a new razor blade on hand and replace it immediately if you notice any dragging or imperfect cuts to ensure clean edges.
Step 3: Apply and Position Tint Film with Care
Positioning ceramic window tint is a delicate art that requires patience, precision, and careful technique. You will transform your vehicle’s windows by creating a flawless film application that looks professional and performs exceptionally.
Window film application begins with creating the perfect working environment. Spray the window with a specialized slip solution to allow the film to float and be repositioned easily. Carefully remove the protective backing from the ceramic tint film, holding it by the edges to prevent fingerprints. Start by positioning the film at the top of the window, allowing a slight overlap with the window frame. Use a soft squeegee to gradually work the film downward, using gentle but firm pressure to remove air and solution from between the glass and film.
As you apply the tint, work methodically from the center outward using smooth squeegee strokes. Watch for any air bubbles or water pockets and gently push them toward the edges. Tint application techniques emphasize the importance of maintaining consistent pressure and avoiding aggressive movements that could stretch or tear the delicate ceramic film. Take your time and be patient small, controlled movements will yield the best results. Trim any excess material carefully using a sharp utility knife, ensuring a clean and precise edge along the window frame.
Pro tip: Work in a humidity controlled environment between 60 and 80 degrees Fahrenheit to ensure optimal film adhesion and minimize potential installation challenges.
Step 4: Smooth Film and Eliminate Bubbles
Eliminating air bubbles during ceramic window tint installation is crucial for achieving a professional looking result. You will master the technique of creating a perfectly smooth film surface that looks flawless and performs exceptionally.
Window tint bubble removal requires patience and precise technique. Start by using a professional squeegee with a soft felt edge to gently push air pockets toward the window edges. Work methodically from the center of the window outward using steady vertical strokes. Apply light to moderate pressure while maintaining a 45 degree angle to prevent tearing or stretching the delicate ceramic film. If small bubbles persist after your initial smoothing pass, wait 24 to 48 hours some moisture bubbles can naturally dissipate during the curing process.
For stubborn air pockets, use a heat gun set to low temperature or a professional hair dryer to warm the film slightly. This helps the adhesive become more flexible and can help eliminate trapped air. UV window film installation techniques emphasize the importance of consistent pressure and careful manipulation. Move the heat source slowly across the bubble area while simultaneously using your squeegee to guide the air toward the window edges. Be cautious not to overheat the film, which could cause damage or compromise the ceramic tint’s protective properties.
Pro tip: Use a credit card wrapped in a soft microfiber cloth as an alternative smoothing tool for delicate areas where a squeegee might be too aggressive.
Step 5: Inspect and Finish Window Tint Installation
Now that your ceramic window tint is applied, a thorough final inspection ensures a professional result that meets the highest quality standards. You will carefully examine every inch of your window tint to guarantee a flawless finish that looks pristine and performs perfectly.
Window installation standards require meticulous examination of the entire tinted surface. Begin by checking the film in natural daylight from multiple angles. Look closely for any remaining air bubbles, dust particles, or imperfections along the edges. Use a bright light source to reveal subtle irregularities that might be invisible under normal lighting. Pay special attention to the window edges, ensuring the tint is fully sealed and there are no lifted corners or visible gaps.
Carefully run your fingers gently along the film’s surface to detect any remaining small bubbles or inconsistencies. Ceramic installation techniques emphasize the importance of a uniform surface free from defects. If you discover minor imperfections, use your squeegee or a credit card wrapped in a microfiber cloth to smooth them out. Some tiny bubbles may naturally disappear during the curing process over the next 48 hours, so do not panic if you see a few small air pockets. Allow the tint to cure completely before washing the windows or rolling them down.
Pro tip: Wait at least 72 hours after installation before cleaning the windows to allow the adhesive to set completely and prevent accidentally disturbing the newly applied tint.
Compare these common window tint types for informed decision-making:
Tint Type | Heat Rejection | UV Protection | Clarity |
Ceramic | Excellent | Blocks over 95% | Very high |
Dyed | Moderate | Blocks some UV | Moderate |
Metallic | High | Good UV block | May interfere with signals |
Here’s a summary of key factors that influence a flawless ceramic tint installation:
Factor | Why It Matters | Result of Neglect |
Workspace Cleanliness | Prevents dust and debris under film | Adhesion issues, visible flaws |
Accurate Measurement | Ensures proper fit and coverage | Uneven edges, light leaks |
Film Application Technique | Avoids stretch and air bubbles | Wrinkles, trapped air pockets |
Curing Time | Allows film adhesive to set | Premature lifting, weak bond |
Achieve Flawless Ceramic Window Tint with Expert Installation
The detailed steps in the “Ceramic Window Tint Installation Guide for Flawless Results” highlight the challenges of precision cleaning, accurate measurement, careful film application, and bubble elimination. These essential elements ensure your ceramic window tint delivers maximum UV protection, reduces heat, and maintains clarity without imperfections. At Optyx Auto Studio, we understand how frustrating common pain points like dust contamination, air bubbles, and poor adhesion can be. Our certified technicians use top-tier products and meticulous application techniques to provide you with a seamless, long-lasting tint that elevates your vehicle’s appearance and comfort.

Don’t risk your investment on DIY attempts or inexperienced installers. Experience the difference with Optyx’s elite ceramic window tint services designed for discerning vehicle owners who demand perfection. Visit Optyx Auto Studio to schedule your personalized consultation. Discover how our precision-driven process goes beyond ordinary tinting by combining expert craftsmanship and premium materials. Take action now to protect and enhance your vehicle with the trusted specialists in automotive protection and styling.
Frequently Asked Questions
How do I prepare my workspace for ceramic window tint installation?
To prepare your workspace, select a clean indoor area with minimal dust and a controlled temperature. Ensure you gather all necessary tools, including lint-free microfiber towels, a professional window cleaner, and a squeegee before starting the installation process.
What is the best way to clean windows before applying ceramic tint?
Thoroughly clean the windows using a two-step method: first, remove any residue with a razor blade at a 45-degree angle, then use a mixture of isopropyl alcohol and water with lint-free microfiber towels. This process helps create a pristine surface for optimal tint adhesion.
How do I accurately measure and cut ceramic tint film?
Accurately measure each window from inside the vehicle and add about half an inch of extra film around the edges. Use a sharp utility knife and a metal straight edge on a clean cutting surface to make precise cuts, ensuring you measure twice to avoid mistakes.
What techniques should I use for applying ceramic window tint?
When applying ceramic window tint, spray the window with a slip solution to allow easy repositioning of the film. Start at the top, gently squeegee downwards from the center outward, and maintain controlled pressure to prevent air bubbles and stretching of the film.
How long should I wait before cleaning or rolling down windows after tinting?
Wait at least 72 hours after installation before cleaning the windows or rolling them down. This allows the adhesive to set properly, ensuring a strong bond and reducing the risk of the tint lifting or becoming damaged.
How can I remove air bubbles from ceramic window tint?
To remove air bubbles, use a professional squeegee with a soft felt edge, working from the center of the window towards the edges. For stubborn bubbles, lightly heat the film with a heat gun while simultaneously smoothing them out with the squeegee.
Recommended


Comments