
Maintain Ceramic Coatings Guide for Lasting Gloss and Protection
- optyxautostudio
- Feb 20
- 8 min read


Nothing diminishes the brilliance of a luxury car faster than faded gloss or stubborn surface blemishes. For Spokane owners invested in both vehicle protection and head-turning shine, surface preparation is critical to ceramic coating maintenance success. A flawless finish starts long before you apply any maintenance product, blending expert assessment and gentle care to safeguard your investment. Discover how the right approach preserves the depth, gloss, and formidable shield your high-value vehicle deserves.
Table of Contents
Quick Summary
Key Point | Explanation |
1. Thorough Surface Preparation is Essential | A clean surface is critical for coating adhesion and longevity. Ensure no dirt or contaminants are present before applying any new product. |
2. Use Ceramic-Safe Cleaning Products | Select pH-balanced and non-abrasive cleaners to protect your ceramic coating. Avoid harsh chemicals that can strip protective properties. |
3. Regular Maintenance Product Application | Apply compatible maintenance products every 3-6 months to rejuvenate protective qualities and extend the coating’s lifespan significantly. |
4. Conduct Periodic Inspections | Inspect your vehicle regularly for signs of degradation. Early detection allows for timely touch-ups and helps prevent more costly repairs later. |
5. Avoid Common Maintenance Mistakes | Be mindful of frequent errors, such as skipping prep or using inappropriate cleaners, as these can lead to premature coating failure. |
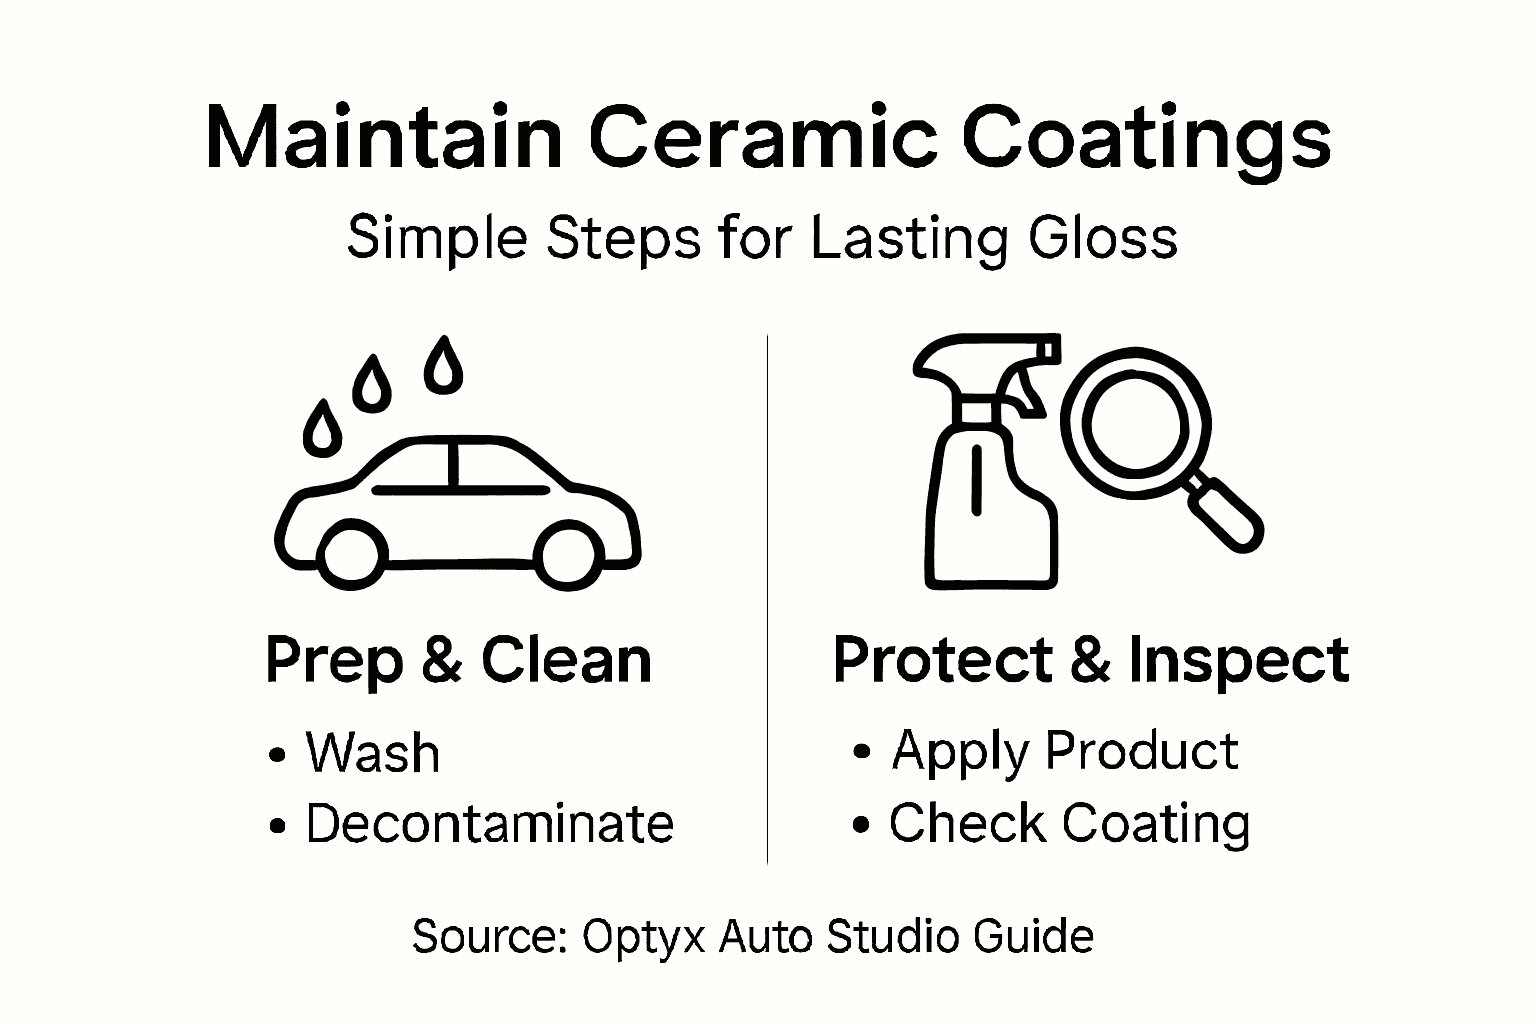
Step 1: Prepare the Surface for Maintenance
Surface preparation is where ceramic coating maintenance actually starts. You can’t apply fresh protection over dirt, contaminants, or deteriorated coating layers and expect results. This step determines whether your coating bonds properly and lasts for years.
Start by assessing your coating’s current condition. Look for areas where the coating may be peeling, cloudy, or worn down. Run your hand across the surface to feel for rough spots or buildup. This inspection tells you exactly what you’re working with before you begin cleaning.
Once you know what you’re dealing with, remove surface contaminants thoroughly. Here’s what this involves:
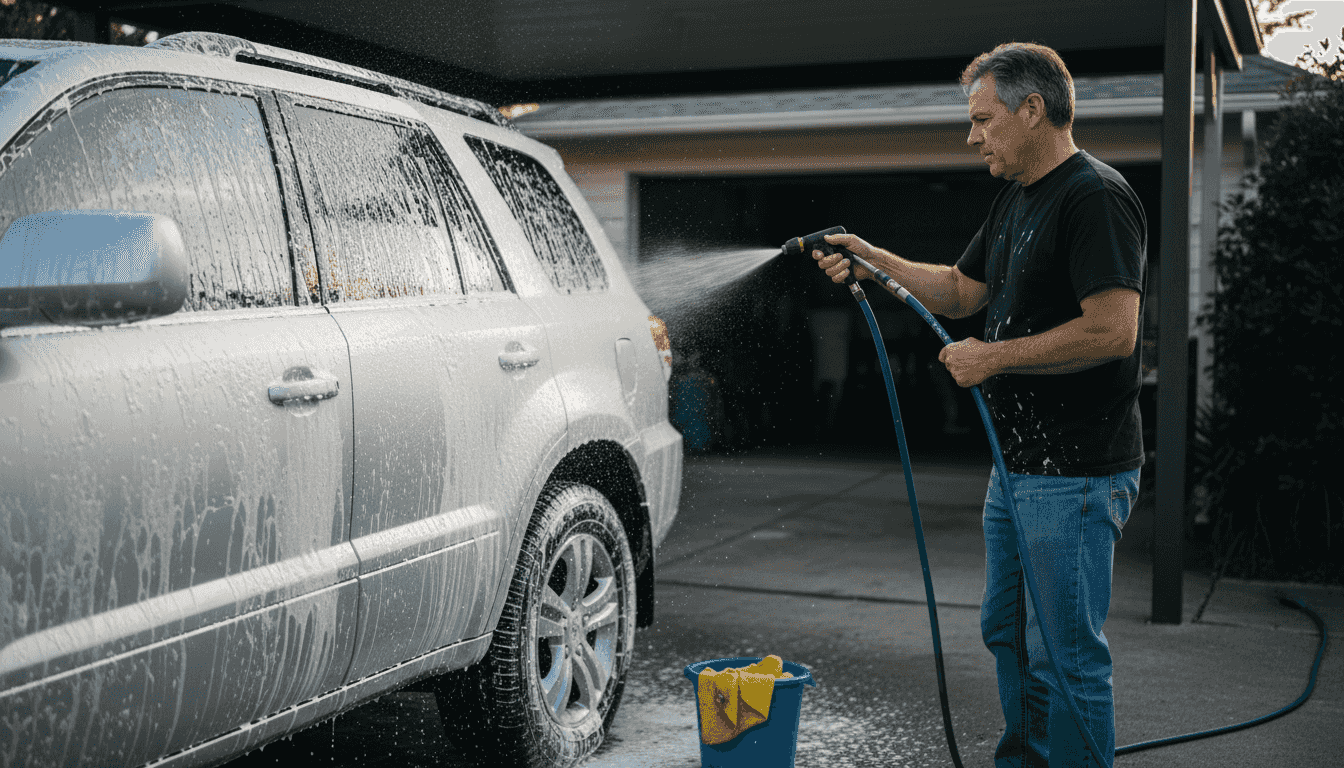
Wash with a pH-neutral car shampoo and two buckets (one for soapy water, one for rinsing your wash mitt)
Use a microfiber wash mitt to avoid scratching the existing coating
Pay special attention to areas where dirt and brake dust accumulate
Rinse completely with clean water to remove all soap residue
For deteriorated coating layers, high-pressure water jetting or abrasive blasting removes contaminants and ensures a sound substrate for your next coat. Most luxury vehicle owners in Spokane will benefit from a professional clay bar treatment after washing. This removes embedded contaminants that regular washing misses.
After clay barring, inspect the surface one more time under bright light. You should see a smooth, clean finish with no visible buildup. Proper surface preparation is critical because it’s the foundation for coating adhesion and longevity. If your coating doesn’t bond correctly to a clean surface, premature failure becomes almost inevitable.
Allow the surface to dry completely before moving to the next step. Use soft, lint-free microfiber towels to eliminate water spots and streaks.
A properly prepared surface is the single most important factor in coating maintenance success. Skipping thorough cleaning is the most common reason coatings fail prematurely.
Pro tip: Prepare your ceramic coating maintenance on a cool, cloudy day. Direct sunlight can dry cleaning products too quickly, leaving residue and streaks that make the next step harder to execute.
Step 2: Clean Using Proper Ceramic-Safe Techniques
Now that your surface is prepared, cleaning with the right products and methods protects your ceramic coating investment. Using harsh chemicals or abrasive tools destroys the glaze and undermines everything you’ve worked toward.
Start with a ceramic-safe car wash shampoo. These formulas are pH-balanced and won’t strip the coating’s protective properties. Avoid all-purpose cleaners, dish soap, or acidic products that compromise ceramic integrity.
Here’s your cleaning process:
Fill two buckets with water (one for your wash solution, one for rinsing your mitt)
Add ceramic-safe shampoo to the wash bucket according to product instructions
Soak your microfiber wash mitt in the soapy water
Wash one section at a time, starting from the top and moving downward
Rinse your mitt frequently in the clean water bucket to avoid reapplying dirt
Rinse each section thoroughly with clean water before moving to the next area
When it comes to drying, never use chamois leather or rough towels. These create scratches and water spots. Instead, use premium microfiber drying towels that lift water gently without friction. Your ceramic coating resists water, so it should bead and sheet naturally.
Avoid pressure washers, which can damage both your coating and paint beneath it. Gentle cleaning methods and non-reactive cleaning agents preserve your ceramic surface’s protective properties while maintaining its appearance. For stubborn contaminants, use a ceramic coating-specific cleaning product designed to work with your protection layer.
Wipe down the entire vehicle with your drying towels before any water spots set. Work methodically so you don’t miss areas, especially around trim and panel gaps where water collects.
Ceramic coatings require ceramic-safe products to maintain their protective bond. Using the wrong cleaners is like maintaining luxury with budget tools.
Pro tip: Wash your vehicle in the shade or during cooler hours to prevent water spots from forming as products dry too quickly in direct sunlight.
Step 3: Apply Recommended Maintenance Products
Applying the right maintenance products keeps your ceramic coating performing at peak levels. This step rejuvenates the coating’s hydrophobic and protective properties, extending its lifespan significantly.
Start by selecting products compatible with your specific ceramic coating. Not all maintenance products work with every coating type. Check your coating documentation or contact the installer to confirm which products are approved. Maintenance products should protect against environmental degradation and restore barrier properties over time.
Here’s how to apply maintenance products correctly:
Work on a clean, dry vehicle in a shaded area
Apply the product according to manufacturer instructions (typically spray or wipe-on application)
Use a clean microfiber applicator pad or cloth for even distribution
Work section by section, starting from the top of the vehicle
Allow the product to cure for the recommended time before driving
Buff with a microfiber towel if the product requires buffing
Common ceramic maintenance products include ceramic boost sprays, maintenance coatings, and hydrophobic topcoats. These products restore water beading and add an extra layer of protection. Some formulas also provide UV protection and enhance gloss. Ceramic coating maintenance involves using compatible products that replenish the coating’s scratch-resistant and hydrophobic qualities without degrading the original layer.
Apply maintenance products every three to six months, depending on climate and driving conditions. Spokane’s varied seasons mean you may need more frequent applications during winter months when salt and harsh weather accelerate degradation.
Choosing the wrong maintenance product can compromise your coating’s integrity faster than not maintaining it at all. Compatibility is everything.
Pro tip: Keep your maintenance product application light and even; more product doesn’t equal better protection and can leave streaks or uneven finish.
Step 4: Inspect and Refresh the Coating Periodically
Regular inspections catch coating damage before it becomes severe. This step keeps your ceramic protection working effectively and prevents costly repairs down the road.
Start with a thorough visual inspection of your entire vehicle in bright natural light. Look for signs of degradation like dull patches, water beading loss, or visible wear patterns. Run your hand across the surface to feel for rough spots or textural changes that indicate coating breakdown.
Here’s what to check:
High-traffic areas like door handles, hood, and roof where wear accelerates
Panel edges and trim where water collects and coating deteriorates faster
Areas around wheels where brake dust and road salt cause damage
Windshield and trim lines where sun exposure is most intense
Overall water beading to confirm hydrophobic properties are still working
Regular inspections enable early identification of coating issues before severe deterioration occurs. If you notice water no longer beads up properly or the surface feels rough in spots, your coating needs refreshing. This typically happens every 12 to 24 months depending on Spokane’s weather conditions and how often you drive.
When you spot worn areas, periodic refreshing or touch-ups prevents severe deterioration and extends your coating’s lifespan. You can apply a ceramic refresh product to affected areas or opt for a complete reapplication by a professional if damage is widespread.
Schedule inspections seasonally, especially before and after harsh winter months. Document your observations so you can track how your coating ages and plan maintenance accordingly.
Catching coating wear early is infinitely cheaper than replacing a failed coating entirely. Small touch-ups now prevent big problems later.
Pro tip: Photograph your vehicle’s condition during each inspection to create a visual record; comparing photos over time reveals degradation patterns you might otherwise miss.
For a clear comparison, here are common ceramic coating maintenance mistakes and their consequences:
Mistake | Reason to Avoid | Potential Outcome |
Skipping surface prep | Reduces coating bond | Early coatings failure |
Using harsh cleaners | Damages ceramic layer | Loss of protection and gloss |
Overapplying products | Causes streaks and buildup | Unattractive finish, wasted material |
Ignoring inspections | Misses early damage signs | Costly repairs or full reapplication |
To better understand the impact of maintenance, here’s a summary of how each step supports coating longevity:
Maintenance Step | Primary Purpose | Effect on Coating | Typical Frequency |
Surface Preparation | Ensures proper adhesion | Prevents premature failure | Every maintenance cycle |
Ceramic-Safe Cleaning | Protects existing layer | Maintains hydrophobic properties | Weekly or biweekly |
Product Application | Rejuvenates protective features | Extends coating lifespan | Every 3-6 months |
Periodic Inspection | Identifies wear early | Enables timely touch-ups | Seasonally or biannually |
Keep Your Ceramic Coating at Peak Performance with Optyx Auto Studio
Maintaining your ceramic coating is essential to preserving that lasting gloss and protection you invested in. The article highlights challenges such as proper surface preparation, using ceramic-safe cleaning products, applying compatible maintenance sprays, and scheduling regular inspections to prevent premature coating failure. If you’ve experienced issues like dull patches, water spotting, or coating degradation, it is clear that expert care and high-quality products make all the difference.
At Optyx Auto Studio, we understand how crucial each step of ceramic coating maintenance is. Our certified installers use precision techniques and top-tier products to provide premium ceramic coating services tailored to your vehicle’s needs. Whether you need professional cleaning, rejuvenation products, or a full reapplication to refresh your ceramic layer, our team offers customized solutions that will extend your coating’s hydrophobic properties and enhance its durability. Don’t let improper maintenance reduce your vehicle’s shine and protection. Explore our ceramic coatings and paint protection film offerings designed to safeguard your investment with style and long-term performance.

Ready to preserve your vehicle’s flawless finish and prolong your ceramic coating’s life? Contact Optyx Auto Studio today for expert maintenance advice or to schedule your next service. Visit https://optyxauto.com to take the first step toward protecting your automotive investment now.
Frequently Asked Questions
How do I prepare the surface for ceramic coating maintenance?
To prepare the surface for ceramic coating maintenance, thoroughly clean the vehicle to remove dirt and contaminants. Use a pH-neutral car shampoo and a microfiber wash mitt, ensuring a smooth, clean surface for proper coating adhesion.
What are the proper cleaning techniques for ceramic coatings?
Use ceramic-safe car wash shampoos that are pH-balanced to clean your ceramic coatings effectively. Always wash in sections, starting from the top to avoid dirt accumulation, and rinse thoroughly to maintain the coating’s protective properties.
How often should I apply maintenance products to my ceramic coating?
Apply recommended maintenance products every three to six months to rejuvenate the protective features of your ceramic coating. This regular application will help maintain hydrophobic properties and extend the lifespan of the coating.
What should I look for during inspections of my ceramic coating?
During inspections, check for dull patches, loss of water beading, or rough spots that indicate coating wear. Conduct these visual inspections seasonally to catch potential issues early and prevent severe deterioration.
How can I refresh my ceramic coating if it shows signs of wear?
If signs of wear appear, apply a ceramic refresh product to affected areas to restore protection. For extensive damage, consider scheduling a complete reapplication by a professional to ensure durability.
What mistakes should I avoid when maintaining my ceramic coating?
Avoid skipping surface preparation, using harsh cleaners, overapplying products, and ignoring inspections. Each of these mistakes can significantly compromise the coating’s effectiveness and lead to premature failure.
Recommended


Comments