
How to Install Paint Protection Film for Flawless Results
- optyxautostudio
- Feb 11
- 9 min read

Owning a luxury or performance vehicle in Spokane brings both pride and the responsibility to maintain its pristine appearance. The journey to flawless paint protection starts with thorough preparation and clean conditions, because even the smallest contaminant can impact the finished look. In this guide, you’ll find professional-grade steps for preparing your vehicle and workspace so your paint protection film not only looks stunning but also stands the test of time.
Table of Contents
Quick Summary
Key Insight | Explanation |
1. Maintain Ideal Workspace Conditions | Keep your workspace at 65-75°F and low humidity to ensure optimal film adhesion. |
2. Thoroughly Clean the Vehicle | Use a two-bucket wash and clay bar to ensure a contaminant-free surface for better PPF application. |
3. Measure and Cut Precisely | Create accurate templates and use sharp blades for precise cutting to avoid waste and ensure fit. |
4. Apply Film Using Controlled Techniques | Prepare a slip solution and position the film methodically to eliminate air bubbles and achieve adhesion. |
5. Inspect for Flawless Finish | Conduct a comprehensive inspection post-installation to catch any imperfections before completion. |
Step 1: Prepare the vehicle and workspace
Installing paint protection film (PPF) requires meticulous preparation to ensure a flawless, long-lasting result. Your workspace and vehicle’s surface must be immaculately clean and well-organized to minimize potential contamination and achieve professional-grade installation.
Begin by selecting a controlled indoor environment with stable temperature and minimal dust. Ideally, choose a space like a professional detailing bay or a clean garage with excellent lighting. Proper workspace conditions are critical for achieving premium PPF application. Your workspace should have:
Consistent temperature between 65-75°F
Low humidity levels (40-50%)
Dust-free environment
Adequate ventilation
Clean, organized workstation
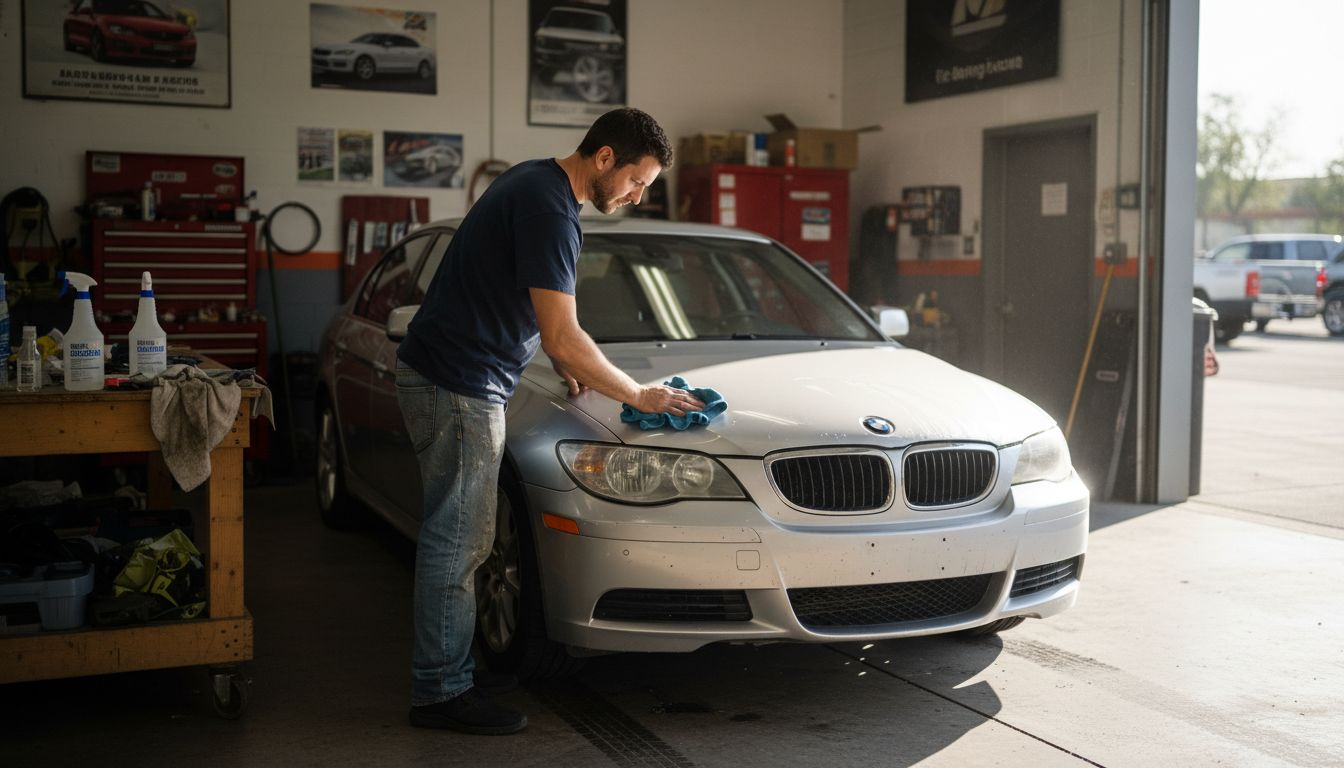
Before starting the installation, thoroughly clean the vehicle using a two-bucket wash method. Remove all surface contaminants using a professional-grade automotive degreaser and clay bar treatment to ensure a perfectly smooth surface. Focus on high-impact areas like the hood, bumpers, mirrors, and doors where paint protection film will be applied.
Here’s how workspace conditions impact PPF installation quality:
Workspace Factor | Effect on PPF Results | Impact if Improper |
Temperature Stability | Promotes smooth film adhesion | Causes wrinkling |
Low Humidity | Reduces risk of trapped moisture | Leads to bubbles |
Dust-Free Environment | Prevents surface imperfections | Results in raised spots |
Bright Lighting | Reveals flaws during installation | Misses subtle defects |
Proper Ventilation | Ensures safe work environment | Increases contamination risk |
Prepare your installation toolkit with precision tools like squeegees, microfiber towels, slip solutions, and razor blades. Wear clean, lint-free gloves to prevent introducing additional contaminants during the application process.
Pro tip: Use compressed air to do a final dust removal immediately before PPF application to eliminate any remaining microscopic particles that could compromise the film’s adhesion.
Step 2: Clean and decontaminate the paint surface
Successfully preparing your vehicle’s surface for paint protection film (PPF) requires meticulous cleaning and decontamination. This critical step ensures optimal film adhesion and prevents imperfections that could compromise the final installation.
Surface cleaning protocols involve removing every trace of contaminant that might interfere with the film’s performance. Begin by gathering professional-grade automotive cleaning supplies, including:
High-quality microfiber towels
Automotive-specific degreaser
Clay bar kit
Isopropyl alcohol solution
Lint-free cleaning cloths
Distilled water
Start with a thorough two-bucket wash method to remove loose dirt and debris. Use a pH-neutral car wash soap and rinse each section carefully. After the initial wash, apply a clay bar treatment to remove embedded contaminants like industrial fallout, tree sap, and microscopic paint imperfections. This process creates an ultra-smooth surface essential for PPF application.
Next, perform a detailed surface inspection to identify any remaining contaminants. Use a bright light to highlight subtle imperfections. Wipe the entire surface with an isopropyl alcohol solution to eliminate any remaining oils or residues that could prevent proper adhesion.
Proper surface preparation is 80% of a successful PPF installation - take your time and be thorough.
Pro tip: Work in a temperature-controlled environment between 65-75°F and use lint-free microfiber towels to prevent introducing new contaminants during the cleaning process.
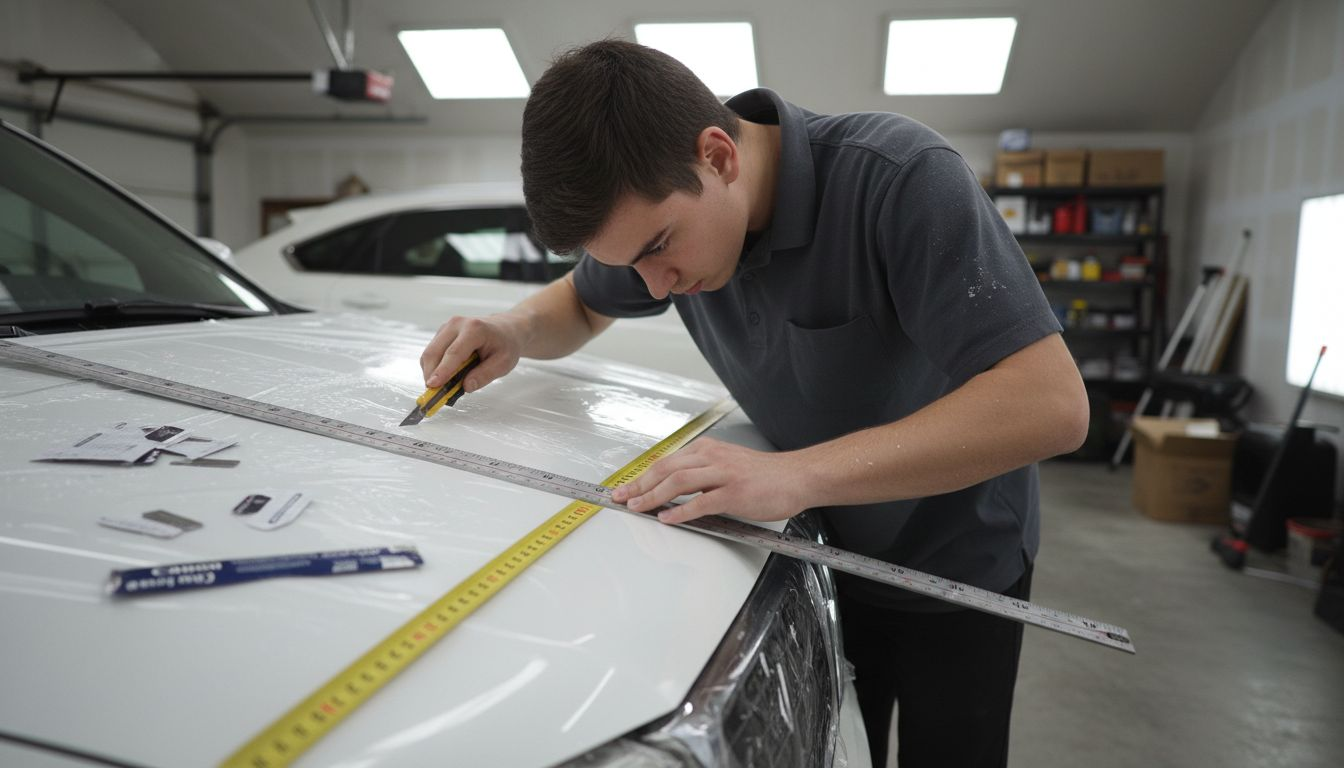
Step 3: Measure and cut the paint protection film
Precision is paramount when measuring and cutting paint protection film for your vehicle. Measuring vehicle panels accurately ensures a seamless installation that protects your car’s finish without wasting expensive film material.
Begin by gathering essential tools for precise measurement and cutting:
Digital measuring tape
High-quality cutting mat
Sharp precision ceramic blade
Masking tape
Heat-resistant gloves
Clean work surface with bright lighting
Approach the measurement process systematically by creating a detailed panel template. Lay out large sheets of masking paper over each vehicle section you plan to cover, tracing the exact contours with minimal overlap. Transfer these paper templates onto the paint protection film, leaving approximately half an inch of extra margin around each edge to accommodate slight adjustments during installation.
When cutting, use a sharp ceramic blade and maintain consistent, controlled pressure. Professional installers recommend cutting on a dedicated cutting mat with minimal film movement. Work slowly and deliberately, rotating the film as needed to maintain precision. Professional film installation techniques emphasize the importance of avoiding stretching or distorting the film during the cutting process.
Patience during measurement and cutting determines 90% of your paint protection film’s final appearance.
Pro tip: Always keep replacement blades on hand and change your cutting blade immediately if you notice any signs of dulling to maintain ultra-precise cuts.
Step 4: Apply and position the film precisely
Mastering the precise application of paint protection film requires patience, technique, and a methodical approach. Application techniques for protective coatings demand a controlled environment and meticulous attention to detail.
Prepare your workspace with essential application tools:
Spray bottle with slip solution
Squeegee with soft rubber edge
Heat gun or professional-grade hair dryer
Lint-free microfiber towels
Application gloves
Clean work surface with good lighting
Begin by activating the slip solution, which allows for precise positioning and minimizes air bubbles. Spray a light, even coating on both the vehicle surface and film’s adhesive side. This creates a temporary lubricant that enables you to slide and adjust the film into perfect alignment before final pressing.
Start positioning the film from one edge, using gentle, uniform pressure to smooth out the material. Work methodically from the center outward, using your squeegee to push out any trapped air or solution. Professional installers recommend overlapping each squeegee stroke slightly to ensure comprehensive coverage and eliminate potential air pockets.
Precision during film application is more important than speed - take your time and focus on perfection.
Pro tip: Use a heat gun on low setting to help the film conform to complex curves, but maintain constant motion to prevent potential damage.
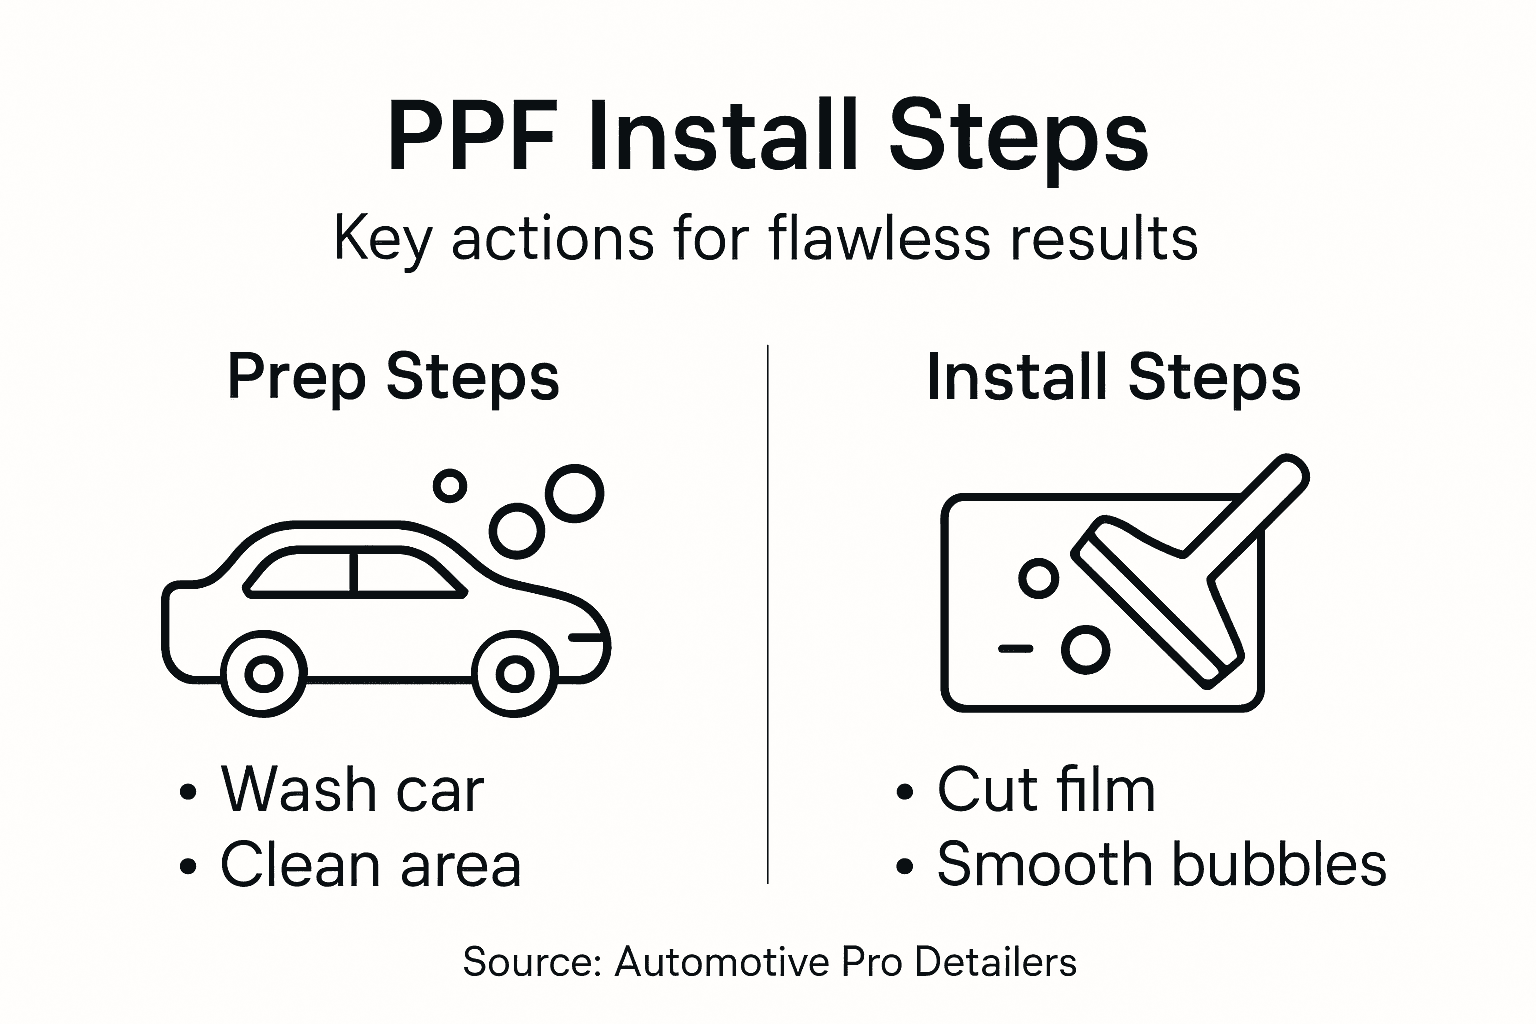
Step 5: Smooth out bubbles and ensure adhesion
Successfully eliminating air bubbles and achieving uniform paint protection film adhesion requires precision and systematic technique. Coating quality inspection standards emphasize the critical importance of thorough bubble removal during installation.
Prepare your bubble elimination toolkit with essential tools:
Professional-grade squeegee
Soft microfiber towels
Heat gun or professional hair dryer
Patience and steady hand
Good lighting
Magnifying work lamp
Begin the bubble elimination process by working methodically across the film’s surface. Use your squeegee with consistent, gentle pressure, always moving from the center outward in overlapping strokes. Apply firm but controlled pressure to push trapped air toward the film’s edges, allowing it to escape naturally without causing film distortion.
Utilize controlled heat application to help the film conform more smoothly to complex surface contours. Apply heat sparingly with a heat gun set to low temperature, maintaining constant motion to prevent potential film damage. Watch for any remaining small bubbles and address them immediately using precise squeegee techniques.
Achieving perfect adhesion requires more attention to detail than speed - take your time and focus on perfection.
Pro tip: Allow the film to settle for 24-48 hours after installation in a controlled environment to ensure maximum adhesion and bubble elimination.
Step 6: Inspect and finish the installation
The final stage of paint protection film installation demands a meticulous approach to ensure a flawless, professional-grade result. Professional coating inspection techniques are critical for identifying and addressing any potential imperfections during the final review.
Conduct a comprehensive final inspection using these essential tools:
Bright LED work light
Magnifying glass
Microfiber inspection towels
Heat gun
Precision cutting tools
Clean workspace
Systematic inspection requires careful examination under multiple lighting angles. Start by checking the film’s edges for proper adhesion and smoothness. Look for subtle signs of:
Trapped air bubbles
Edge lifting
Slight wrinkles or misalignments
Uneven film thickness
Surface contamination
Use controlled heat application to help smooth out minor imperfections. Apply heat sparingly with a heat gun set to low temperature, maintaining constant motion to prevent potential film damage. Gently press down on any remaining small bubbles or lift edges using your squeegee with minimal pressure.
Perfection is found in the details - take the time to inspect every square inch of the film.
Pro tip: Wait at least 48 hours after installation before washing or exposing the vehicle to extreme conditions to allow the film to fully settle and achieve maximum adhesion.
Below is a summary of each step’s critical focus for a flawless PPF install:
Installation Step | Key Success Factor | Common Pitfall |
Vehicle & Workspace Prep | Cleanliness and order | Surface contamination |
Paint Surface Cleaning | Thorough decontamination | Missed embedded particles |
Film Measuring & Cutting | Accurate template creation | Uneven fit or waste |
Film Application & Positioning | Controlled slip technique | Misalignment or trapped air |
Bubble Removal & Adhesion | Systematic pressure usage | Film distortion from haste |
Final Inspection & Finishing | Comprehensive quality check | Overlooking subtle flaws |
Protect Your Investment with Expert Paint Protection Film Services
Installing paint protection film yourself can seem rewarding but often comes with challenges like surface contamination, precise measurement, and flawless bubble removal. These obstacles can compromise your vehicle’s finish and longevity despite your best efforts. At Optyx Auto Studio, we understand that perfect adhesion, seamless application, and professional-grade results matter most to discerning vehicle owners seeking to preserve and enhance their car’s beauty.
Elevate your vehicle protection with our certified installers who use top-tier products and unparalleled attention to detail. Whether you need flawless paint protection film applied, expert paint correction, or customized styling, our 35 years of experience guarantee a durable and stunning finish. Don’t risk uneven film or premature peeling — explore our full range of premium automotive restyling and protection solutions now at Optyx Auto Studio and experience the difference true precision makes. Book your consultation today to secure lasting protection and a pristine look.
Frequently Asked Questions
How do I prepare my vehicle for paint protection film installation?
To prepare your vehicle for paint protection film installation, start by cleaning it with a two-bucket wash method to remove dirt and debris. Follow up with a clay bar treatment to eliminate contaminants, ensuring the surface is smooth and free of imperfections prior to applying the film.
What steps should I follow for measuring and cutting paint protection film?
To measure and cut paint protection film, create a detailed template using masking paper for each vehicle panel, ensuring to leave a half-inch margin around the edges. Use a sharp ceramic blade to cut the film carefully, maintaining control to avoid stretching and distorting the material.
How can I eliminate air bubbles after applying the paint protection film?
Eliminate air bubbles by using gentle, consistent pressure with a squeegee, working from the center of the film to the edges. For stubborn bubbles, apply controlled heat with a heat gun on low to help the film conform and release any trapped air.
What should I inspect after finishing the paint protection film installation?
After completing the installation, inspect the film for any air bubbles, edge lifting, or misalignments using bright lighting. Check for imperfections and use a heat gun to smooth out minor flaws, ensuring the film adheres properly and looks flawless.
How long should I wait before washing my vehicle after PPF installation?
You should wait at least 48 hours after installing the paint protection film before washing your vehicle or exposing it to harsh conditions. This allows the film to fully settle and achieve maximum adhesion for optimal results.
What are the ideal workspace conditions for applying paint protection film?
The ideal workspace conditions for applying paint protection film include a temperature between 65-75°F, low humidity levels of 40-50%, and a dust-free environment. Ensure good ventilation and bright lighting to enhance visibility and quality throughout the installation process.
Recommended


Comments